Inflatable kayaks are vulnerable to sharp edges. You might think what can I do if my lovely inflatable kayak becomes punctured by any means? Well, that’s the topic for today.
In this article, I am going to share with you how to repair an inflatable kayak and how can you survive if you are punctured in the middle of your trip.
I am going to discuss the both recovery process. One is the temporary process for continuing the trip and another is the permanent solution.
Let’s start with the temporary method.
Table of Contents
Inflatable kayak repair: Temporary repairing process
This process is for completing the tour without returning back. It will work if only you have a tiny hole created by your fishing hook or any other spiky material.
Identify the hole
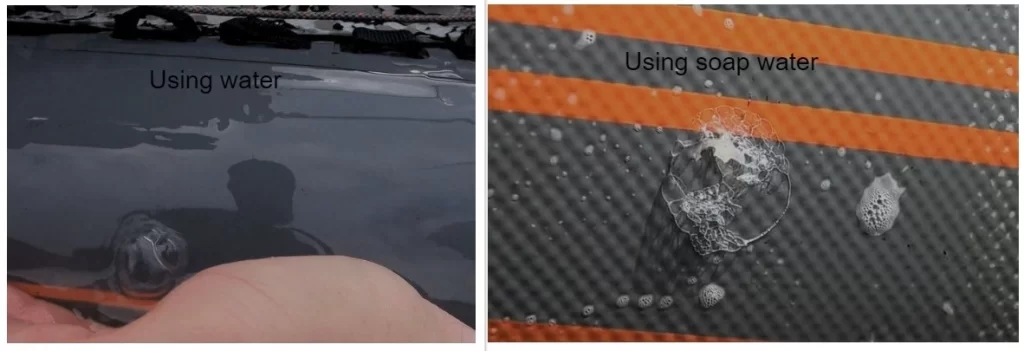
First of all, you need to identify the hole location. To locate it, use the water. If the hole location is underneath the water, you will find the bubbles rising from a tiny hole. If the hole is on the upper surface and you are hearing the hissing sound of air then identify it by using the foam of soap bubble or water keeping in both hands.
Clean the damage area for better patching
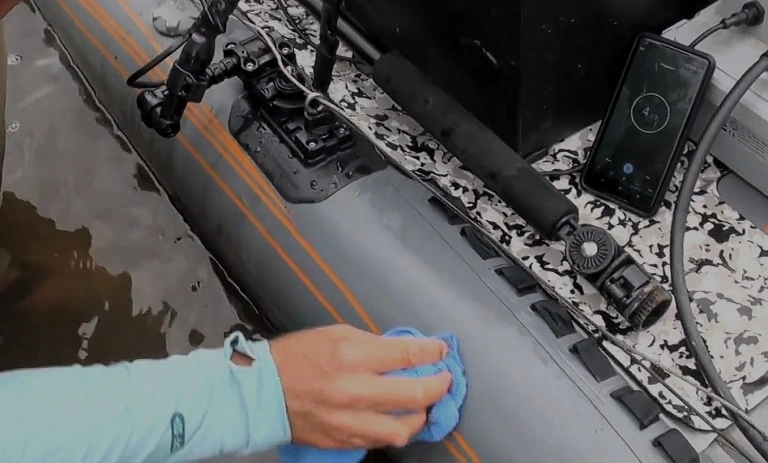
After identifying the hole, clean and make the surface dry for applying the patch. You can use towel or rags for cleaning purpose. One thing should keep in mind that if the damage area looks slippery, the patching will not be firm enough. That is why clean the area or sanding the damage area can help you to make the patching perfect.
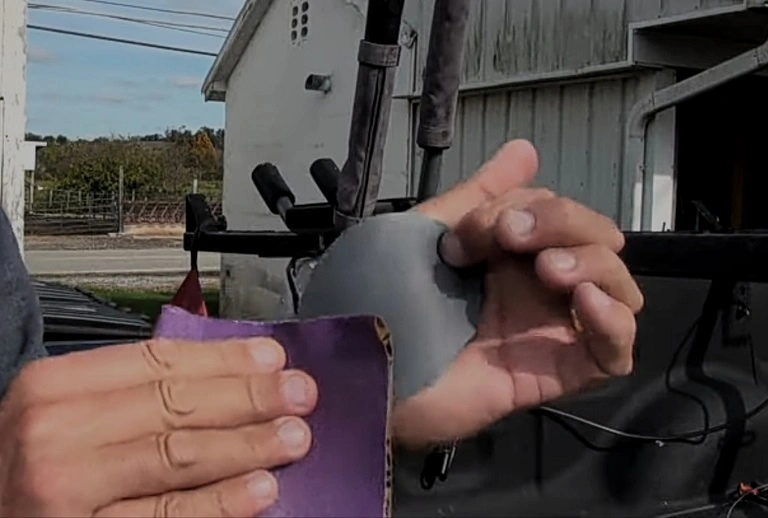
Apply the patching
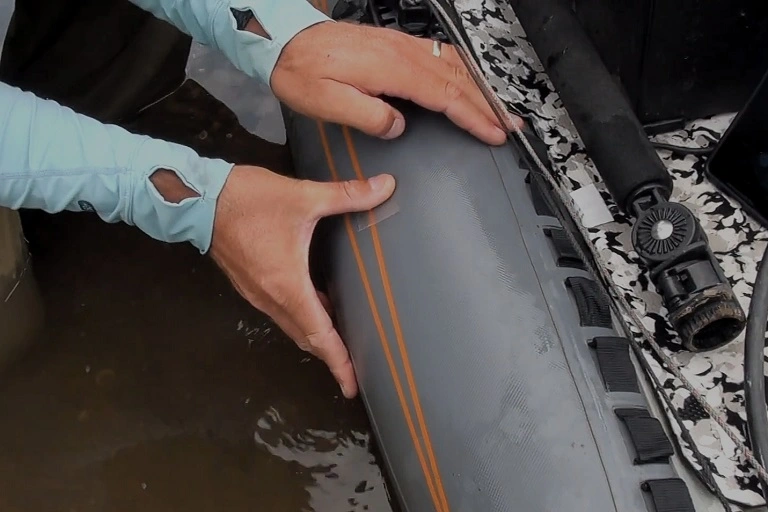
We used a Tear-Aid type B patch material for that temporary fixing process. Just cut this patch as your requirement in square shape. You can take one inch extra around the hole for perfect fixing. Just peel off the sticker and apply the glued part onto the hole. This is good enough to hole your air pressure inside the kayak for the whole day and let you finish the tour.
Inflatable kayak repair: Permanent Repairing Process
Assess the damage
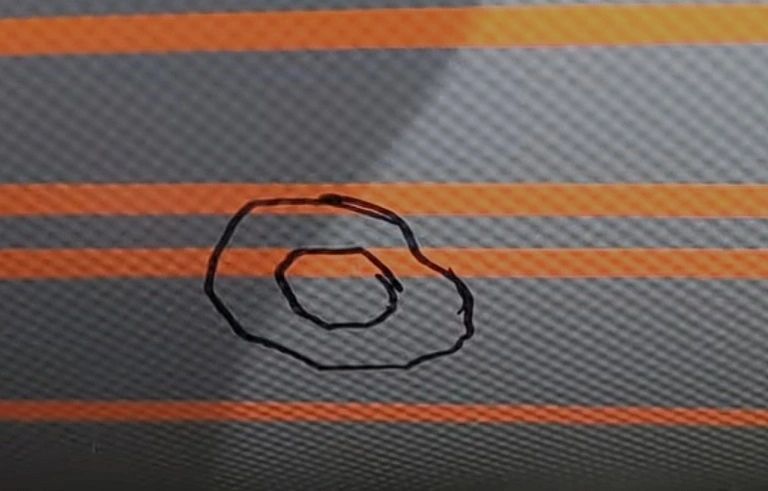
Once you’ve determined that your inflatable kayak needs repair, it’s time to assess the damage.
Determine the type of hole— A puncture in your inflatable kayak could be a tear, knife slit, bullet hole or something else entirely. If you don’t know what caused the hole, make sure to take note of its size and location.
Determine the size of the hole— The larger a puncture is, the more air will escape when you paddle out on your next outing or even just lay out in it for beach days (gasp!). It’s best to take note of its diameter so you can buy an appropriately sized patch kit and patch accordingly.
Sanding process
Once you identified the hole, the next process is to mark the damaged area and cut the patch according to the damage. Always try to cut the patch keeping extra around the damaged area. This will help the repair to be stronger.
Now, using sanding paper sand the patch and damage area. Sanding helps to grip the repair and last longer. After sanding, clean both the patch and damaged area with alcohol or any other things that come up with the kit for cleaning purposes.
Apply adhesive
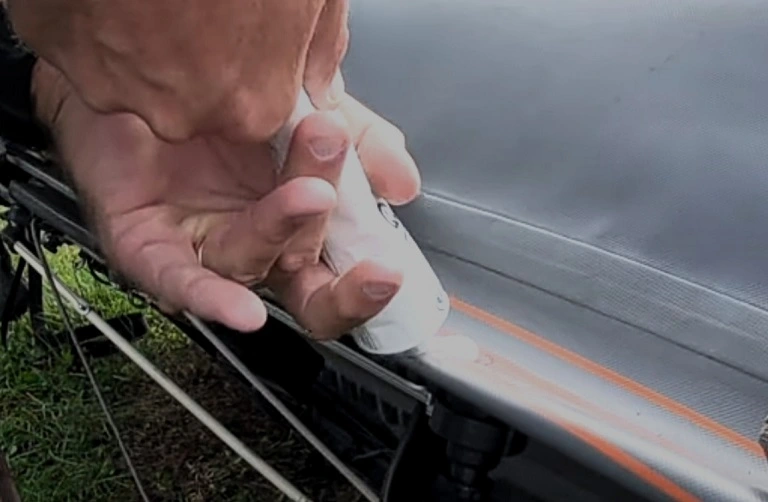
After completing the sanding and cleaning process it is time to apply the adhesive material to the damaged area. There are different types of adhesive material in the market today.
I found Aquaseal more convenient for this process. Apply some adhesive to the damaged area using a brash. Do not use your bare hand because some adhesives can be harmful to the skin. Spread them evenly throughout the sanded area. Now, wait for 1 to 2 minutes before slapping the patch.
Finally
- Apply the repair patch to the surface of your inflatable kayak in an area where you want it to be placed. The adhesive will dry within 30 seconds or so, so be careful when applying it to avoid getting it everywhere!
- Apply heat from a hair dryer or heat gun directly onto the vinyl patch for about 30 seconds until it’s warm enough for you to remove any residue from underneath on both sides (like glue). If not, this can cause more damage than good!
- Let everything sit overnight while keeping them covered up with something heavy like glass bottles filled with water so they’re not disturbed by moving air currents during drying time (usually 24 hours).
Permanent repairing method’s items in a nutshell
Repairing an inflatable kayak is doable and not that difficult
Repairing an inflatable kayak is doable and not that difficult. It is best to use a patch kit for repairs, as these kits contain everything you need to make the repair, including the glue and patches themselves.
Always clean the area before applying the patch. Patch from the inside out and use a brush to spread the glue over all areas of contact with your kayak. Ensure there’s enough glue on each side of your patch so that it adheres properly when you press them together firmly (otherwise they might separate as soon as you start inflating).
Heat gun is another tool used for sealing inflatable kayaks after repairing injuries but also many other uses like fixing punctures or holes in inflatable boats, swim floats, pool toys etc.
A quick note for the safety purpose: always use goggles, hand gloves and protective dress ( there is a chance of catching adhesive to your clothing). During sanding process wear a goggles to protect your eyes from dust.


Pingback: Inflatable vs hard kayak: which one is the best? - Safekayaking
Pingback: Best Inflatable Fishing Kayaks under your budget! - Safekayaking
Pingback: 7 problems with Inflatable Kayaks and How to Avoid Them - Safekayaking